

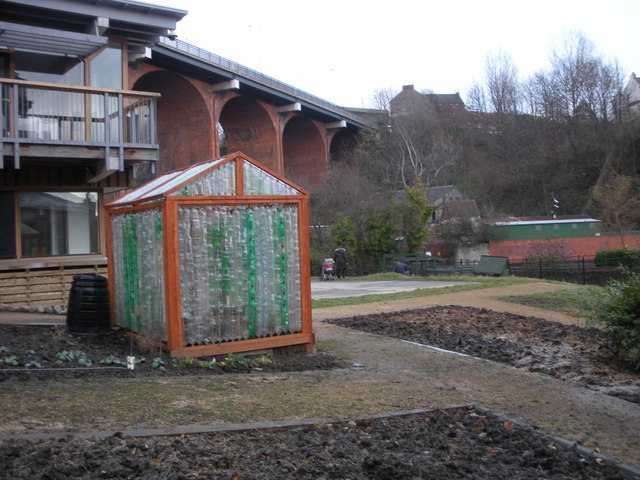
Are you tired of quickly using up and throwing out too many plastic bottles? People are coming up with many creative ways to use their bottles after drinking 12oz of water or soda, such as this beautiful plastic bottle greenhouse.
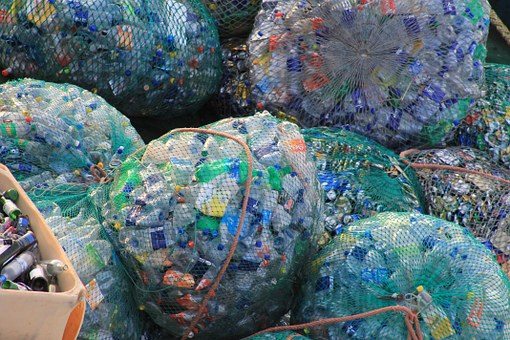
 Littering is one of the largest problems facing humanity today, it seems we are having trouble living in harmony with the earth. Plastic soda and water bottles are one of the most common items to be littered, both on land and in the sea.
 During the 2008 Keep America Beautiful Great American Cleanup, volunteers recovered and recycled 189,000,000 PET plastic bottles that littered highways, waterways and parks. According to the water projects website these bottles take over 1,000 years to bio-degrade, they also produce toxic fumes if incinerated. On top of that issue, only PET plastic bottles can be recycled, 4 out of 5 water bottles end up in the landfills.
 Despite these scary numbers there are other ways to recycle, or rather re-purpose all these plastic bottles. Check out this site for some creative ideas.
This greenhouse idea is particularly awesome because you are actually using what would be trash to grow something amazing. So here’s the step by step instructions from trash to trees, let’s build a plastic bottle greenhouse!
Materials needed:
4” x 4” posts:
- 4@8 foot long (for corner posts sunk 2 ft into the ground)
2” x 2” timber:
- Side frames: 4@8ft, 4@6ft
- Back frame: 4@6ft
- Front frame: 4@6ft
- Front wall and door: 6@6ft
- Roof sides: 4@8ft, 4@5ft*
- Top beam: 1@8ft
- Top gables: 4@5*, 2@6ft
- Gable support: 2@4ft*
*To be cut to length depending on slope and therefore height of roof.
- Garden canes 6 foot x 140 (approx)
- Hinges for door
- Screws: 4” for fixing timber to posts x 40 (approx), 3” for making frame x 100 (approx)
- Fencing staples x 300 (approx)
- Postcrete x 4 bags
- Gravel / slabs / mulch matting
- Plastic bottles x 1,500 (approx)
Tools:
- Spirit level
- Drill
- Mitre block
- Saw x 2
- Screwdriver
- Hammer x 3
- Sharp scissors (as many as required)
- Bucket of soapy water
- Spade
- Pinch bar
- Measuring tape
- Stepladders
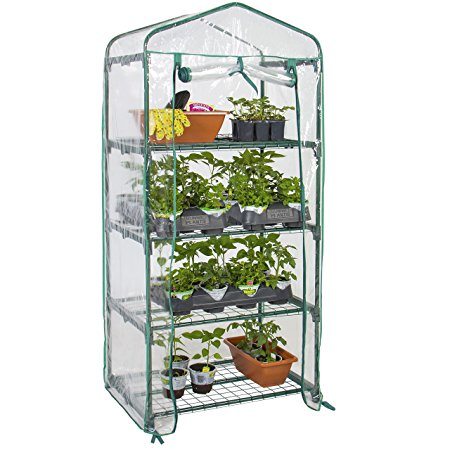 Get the mini-greenhouse here on Amazon!
Step one:
Gather heaps of used plastic bottles. The 2 liter bottles are ideal and around 1,500 are needed for a large sized greenhouse.
Step two:
Wash the bottles and remove the labels. This can be done in a bucket of soapy water. Remove the bottle tops and cut off the bottoms of the bottles with a sharp pair of scissors. Be careful as the scissors and the cut bottles can be sharp. Remember this has to be done up to 1,500 times so can cause blisters and be time consuming.
Step three:
Fix 4 posts vertically into the ground. Treated 4” x 4” posts cemented a couple of feet into the ground works great. These are for the corners of the greenhouse. Put slabs or mulch around and inside to suppress weeds.
Step four:
Make a frame for each side, roof, door etc. These are best done with treated 2” x 2” timber made into frames with mitred corners screwed together.
Step five:
Stack the bottles one inside another with a garden cane supporting them through the middle. At one end reverse a bottle so it faces the opposite way from the rest and fit it inside. This will to make a long tube with the ends of the garden cane sticking out of the tops of the bottles at either end.
Place the bottles and canes onto the frames to be attached at the top and bottom of the frame.
Step six:
Using fencing staples attach both ends of the cane onto the frame. The frame will keep the bottles squashed up. Staple as many rows as possible until the frame is filled.
Step seven:
Screw completed frames onto uprights.
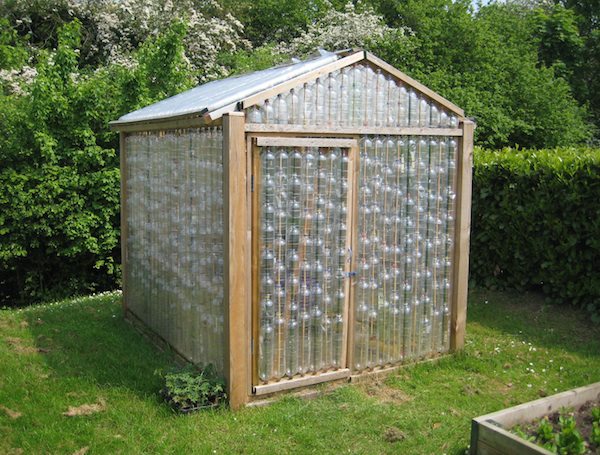
Step eight:
The roof can be flat or sloping. If making a sloping roof it is best to make two triangular frames for the gables. Staple bottles onto these frames as before.
Screw the triangular gables to the posts and include a top beam and vertical supports (from the top of the gables to the top of the front and back panels). The sloping sides the roof can be made out of similar panels as the walls. These can then be screwed onto the top beam, gable ends and top of the side panels.
The door can be made of a smaller frame hinged to a larger frame making up the front wall. Make the door smaller than the inside of the frame to allow it to open freely even if it sags.
 For photo source click here
For a better visual check out this video of a class of young kids giving us the step by step.
https://www.youtube.com/watch?v=A4A64xn_wn8